Basically, the pro-pack is the same til you throw it on the ground. If you don't know how to pro pack. Have someone on the DZ show you how.
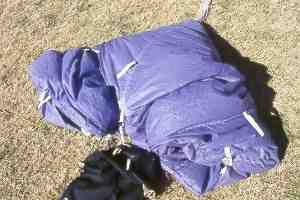
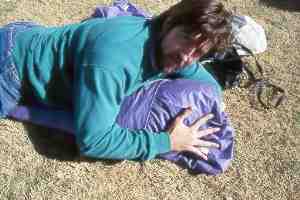
You can sit on the warning label and force the air out of the canopy (not as hard as you think). Some people use a doubled over piece of scrap carpet to lay on the canopy and go get a drink of water while the air gets forced out by the weight of the carpet.
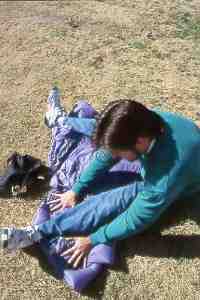
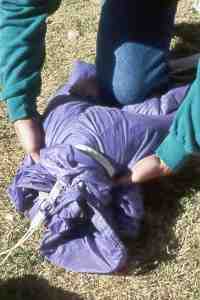
You may also use the traditional method of laying down on the canopy. Place your crotch on the warning label and use your body to keep the canopy still while you force the air out by smoothing over each side with your arms.
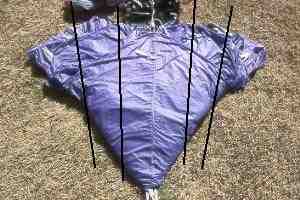
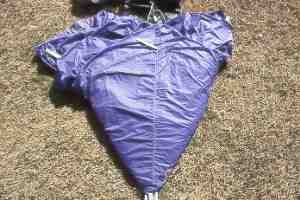
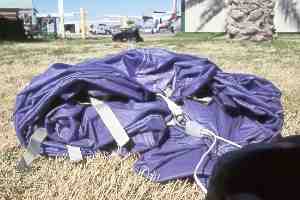
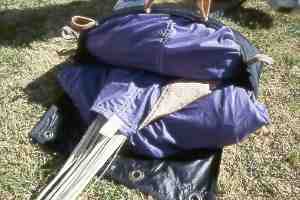
Your flat canopy will look like this. Take note of the lines. These are the lines you are going to FOLD your canopy on. Folding the canopy makes is easy to keep control of the pack job and minimizes the dreaded "Z-PO Squirm."
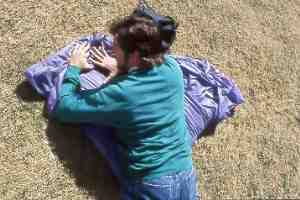
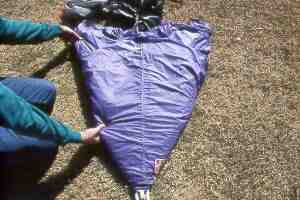
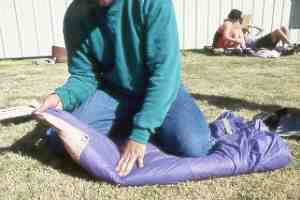
Lay on the canopy and make the first fold. Here, my left hand is nearly under my arm pit as I use the left arm as an edge for the first fold.
Here is the result of my first fold. See the right side is a little neater as the material to the right of the first black line (shown above) is folded under the canopy.
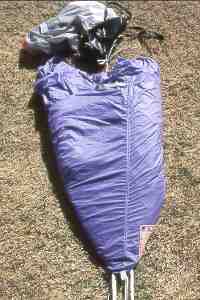
Here I've made the left side fold and am holding the canopy at each end of the fold. Notice that the weight of the canopy is keeping the edges from squirming back out from under the pack job.
Using the same technique, make the second fold. Lie on the canopy and use your arm to fold the right side under. You can see that it's straight from the seam to the edge and that is half the width of the D-bag (approximately).
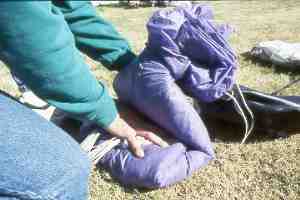
Here is the view from the end of the canopy after the final fold is made.
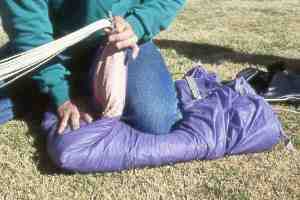
Now kneel across the canopy about 3/4ths towards bridle attachment and place your hand firmly down halfway between your knee and the line end of the pack job. Make sure to make all folds tight. Keep POSITIVE pressure on all folds so you have good control of the pack job. Never take you're hands off of it from this point forward so it doesn't fall apart.
From the top picture to below, I folded the line side towards my left elbow and took my left hand out of the fold. Then I grabbed the lines with my left hand, let go of the lines with my right hand, and placed my right hand immediately over the folded material to keep the pressure on it. Using the inside edge of my right hand, I made the next fold you see between the lines and the edge of the warning label. (my warning label is off to the side of the center seam, so don't be thrown if it looks misplaced. Most canopies have the label over top the center seam and it is centered on the tail.)
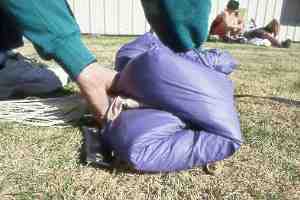
Place the line side back down to the edge of the first s-fold and kneel on the top of the pack job.
Now you can firm up the folds to the bottom of the bridle side of the cocoon and make sure you can hold it all together with one hand as it will come in handy when making the next fold.
Take your right hand and place it on top of the bottom of the pack job (where your knee was on top of it) and remove your knee. Remember, positive control. Don't take your knee off first. Use your hand to form the final s-fold. As shown below... use the left hand to push the top s-fold down onto the bottom part of the pack job BEFORE you take your right hand away. Now you should be able to use one hand to hold down the entire pack job while moving the bag into position for the next step.
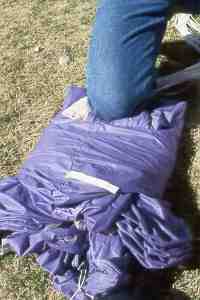
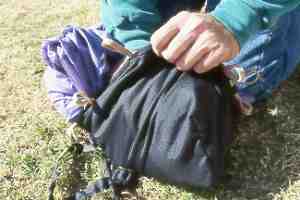
Place both hands around the entire pack job, pick it up and set it on the bag with the grommits showing as shown below in the next 2 photos.
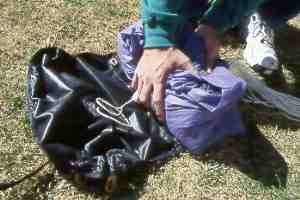
Kneel on the flap with the grommits and stuff that sucker in the bag. Make sure not to let any pressure off the top of the canopy. See how my right hand is holding the pack job together while I pull the bag over the top edge?
Now that's what I call a well behaved z-po canopy!
Click Here for Brent's Home Page